

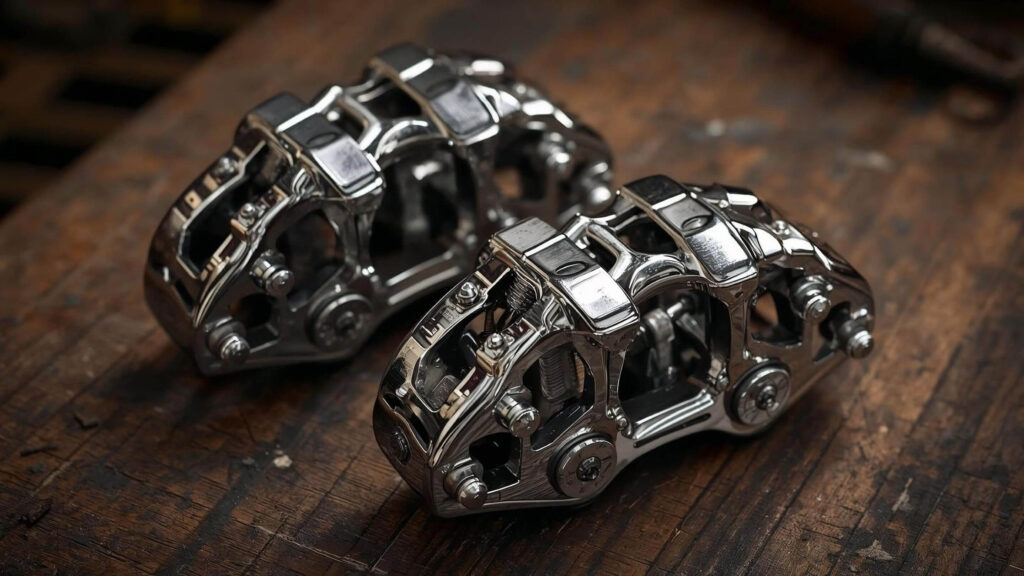
Brakes are among the most heavily used components on a motorcycle and their flawless function is absolutely essential. That’s why you should occasionally give your brake calipers some attention. Proper care helps prevent damage and wear, ensuring your braking system continues to perform reliably over time. This guide summarizes everything you need to know about maintaining your motorcycle’s brake calipers.
Table of Contents
Why Is Brake Caliper Care Important?
Brake calipers are exposed to dirt, brake dust, and environmental stress. The hydraulic pistons inside the caliper press against the brake pads and disc and must be properly sealed to prevent brake fluid leaks.
If dirt builds up over time inside the caliper or on the pistons, it can:
- Reduce piston movement
- Prevent proper retraction (causing brake drag)
- Lead to seal failure and fluid leaks
Potential issues from neglected calipers:
- Leaking piston seals
- Wheel resistance due to stuck pistons
- Poor brake response (stick-slip effect)
Regular cleaning not only improves brake performance but can also prevent costly repairs.
When Should You Maintain Brake Calipers?
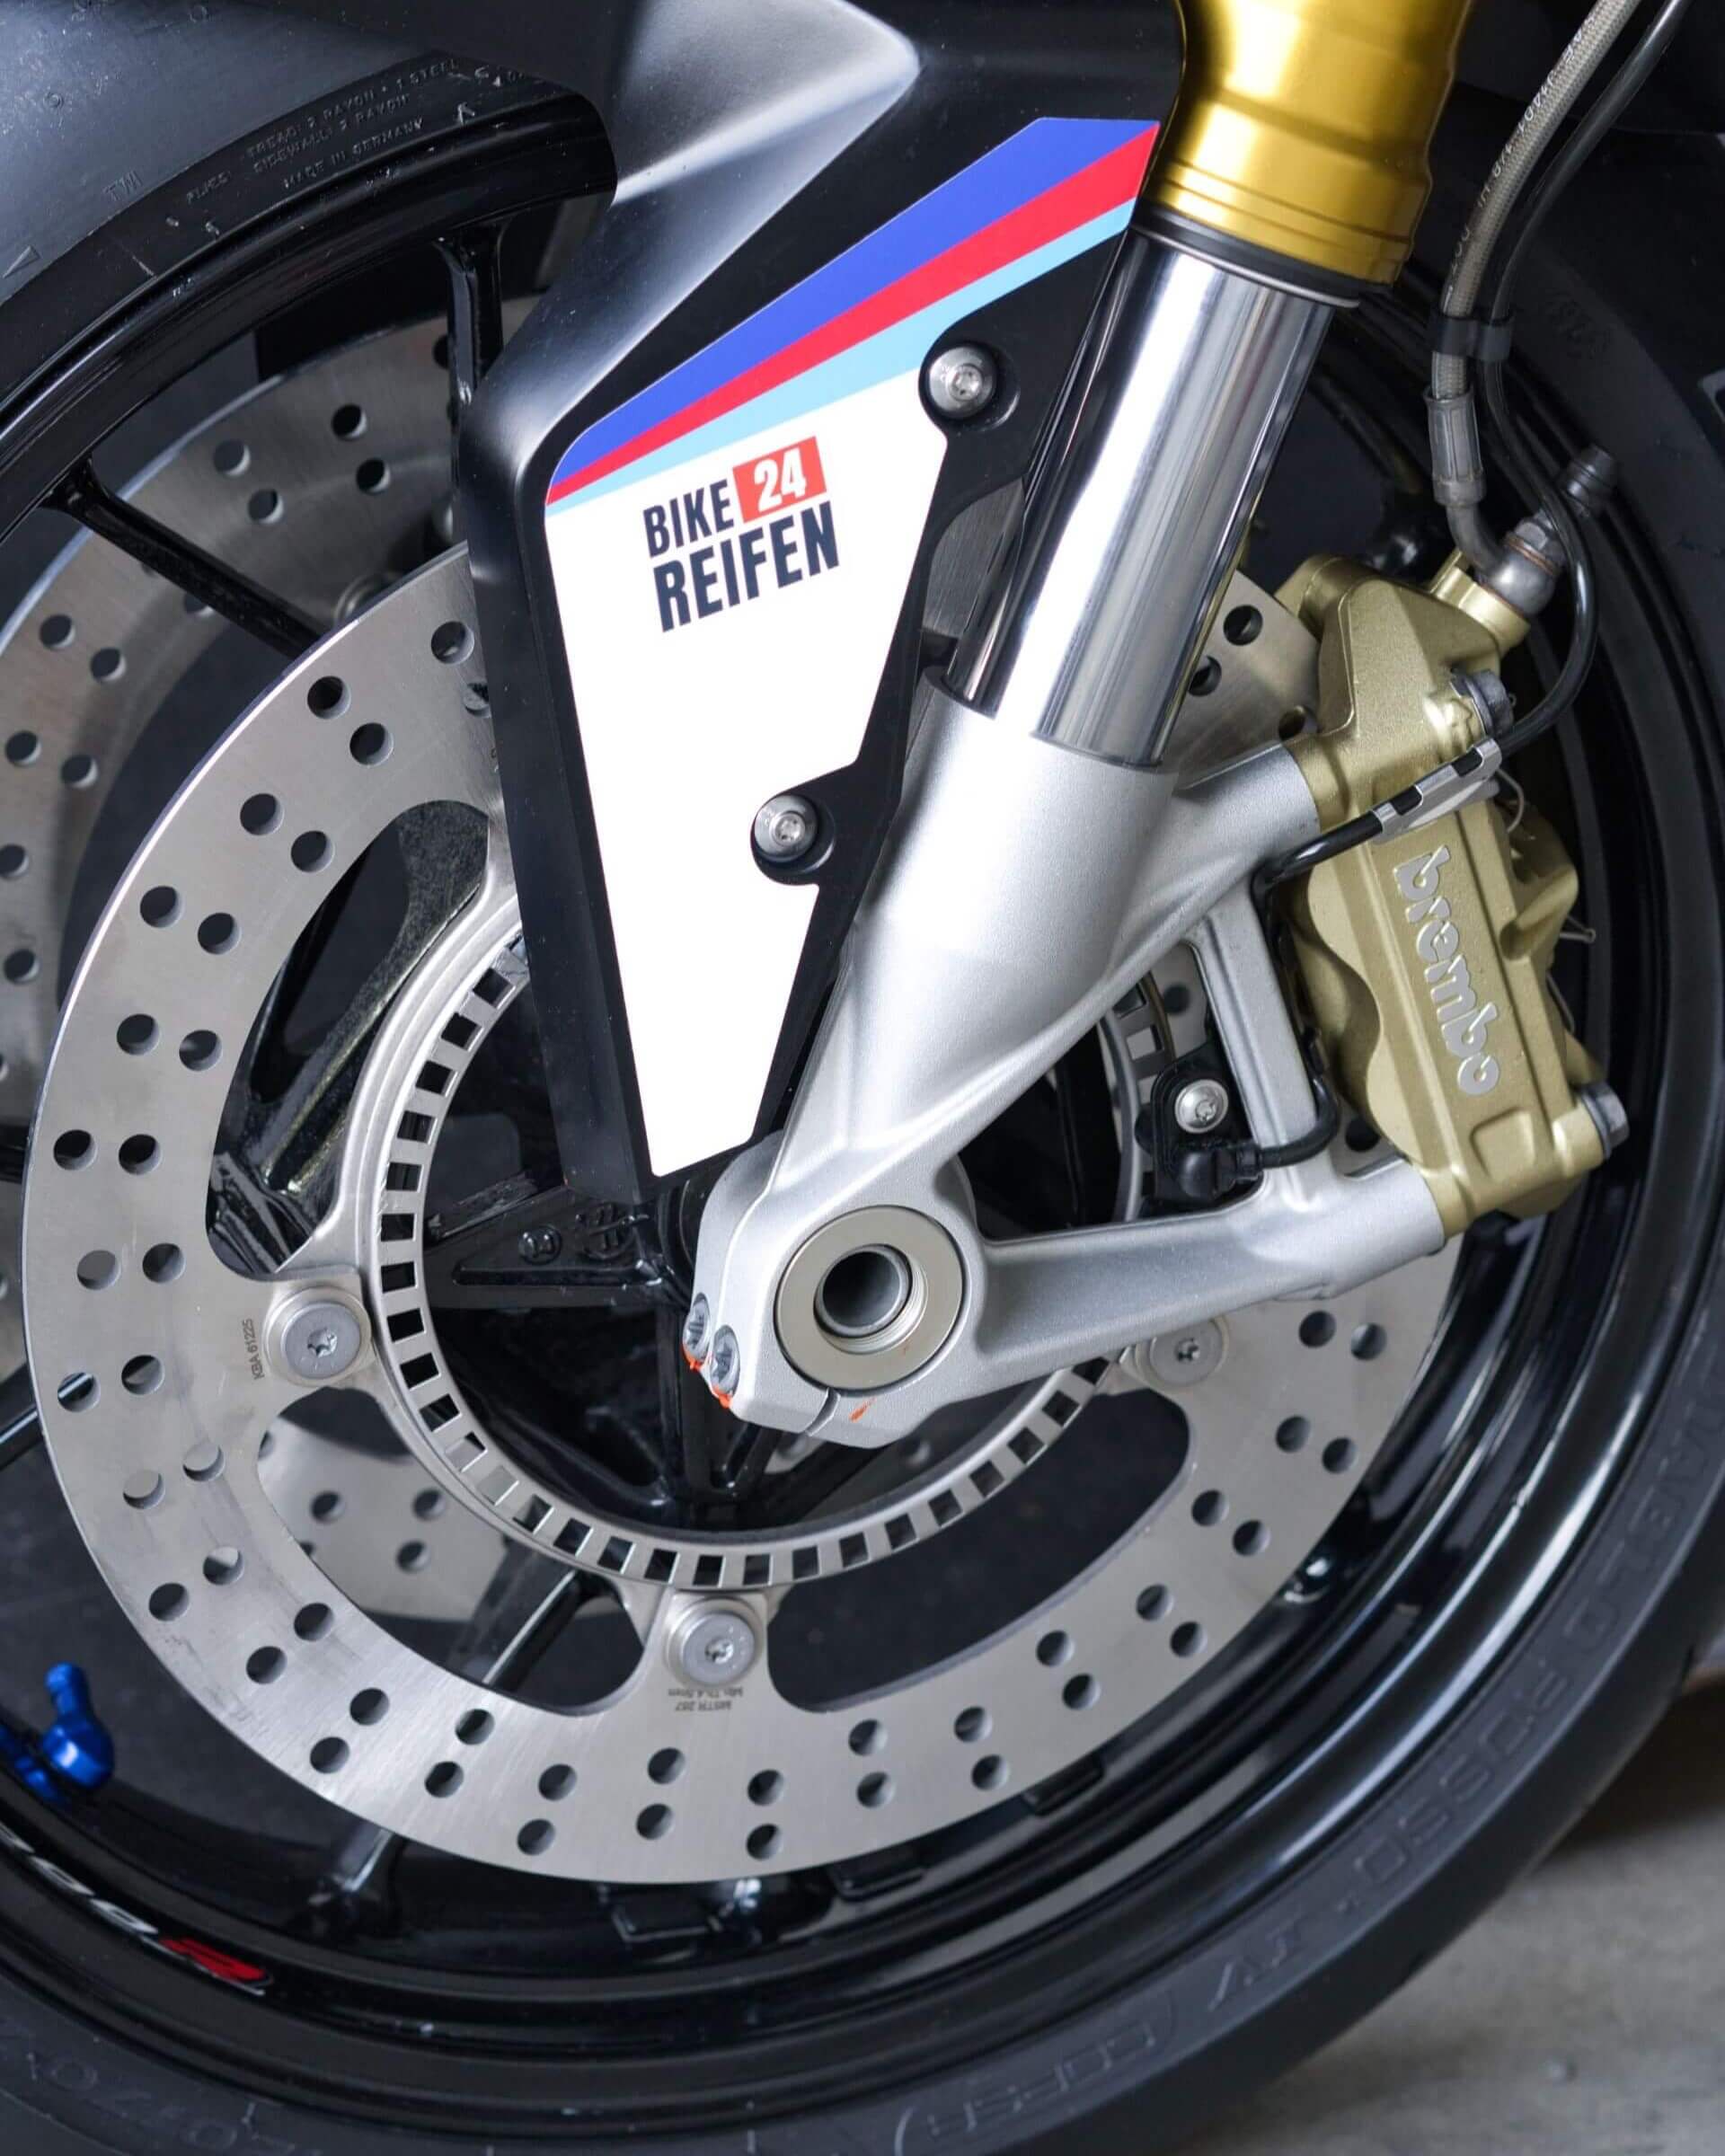
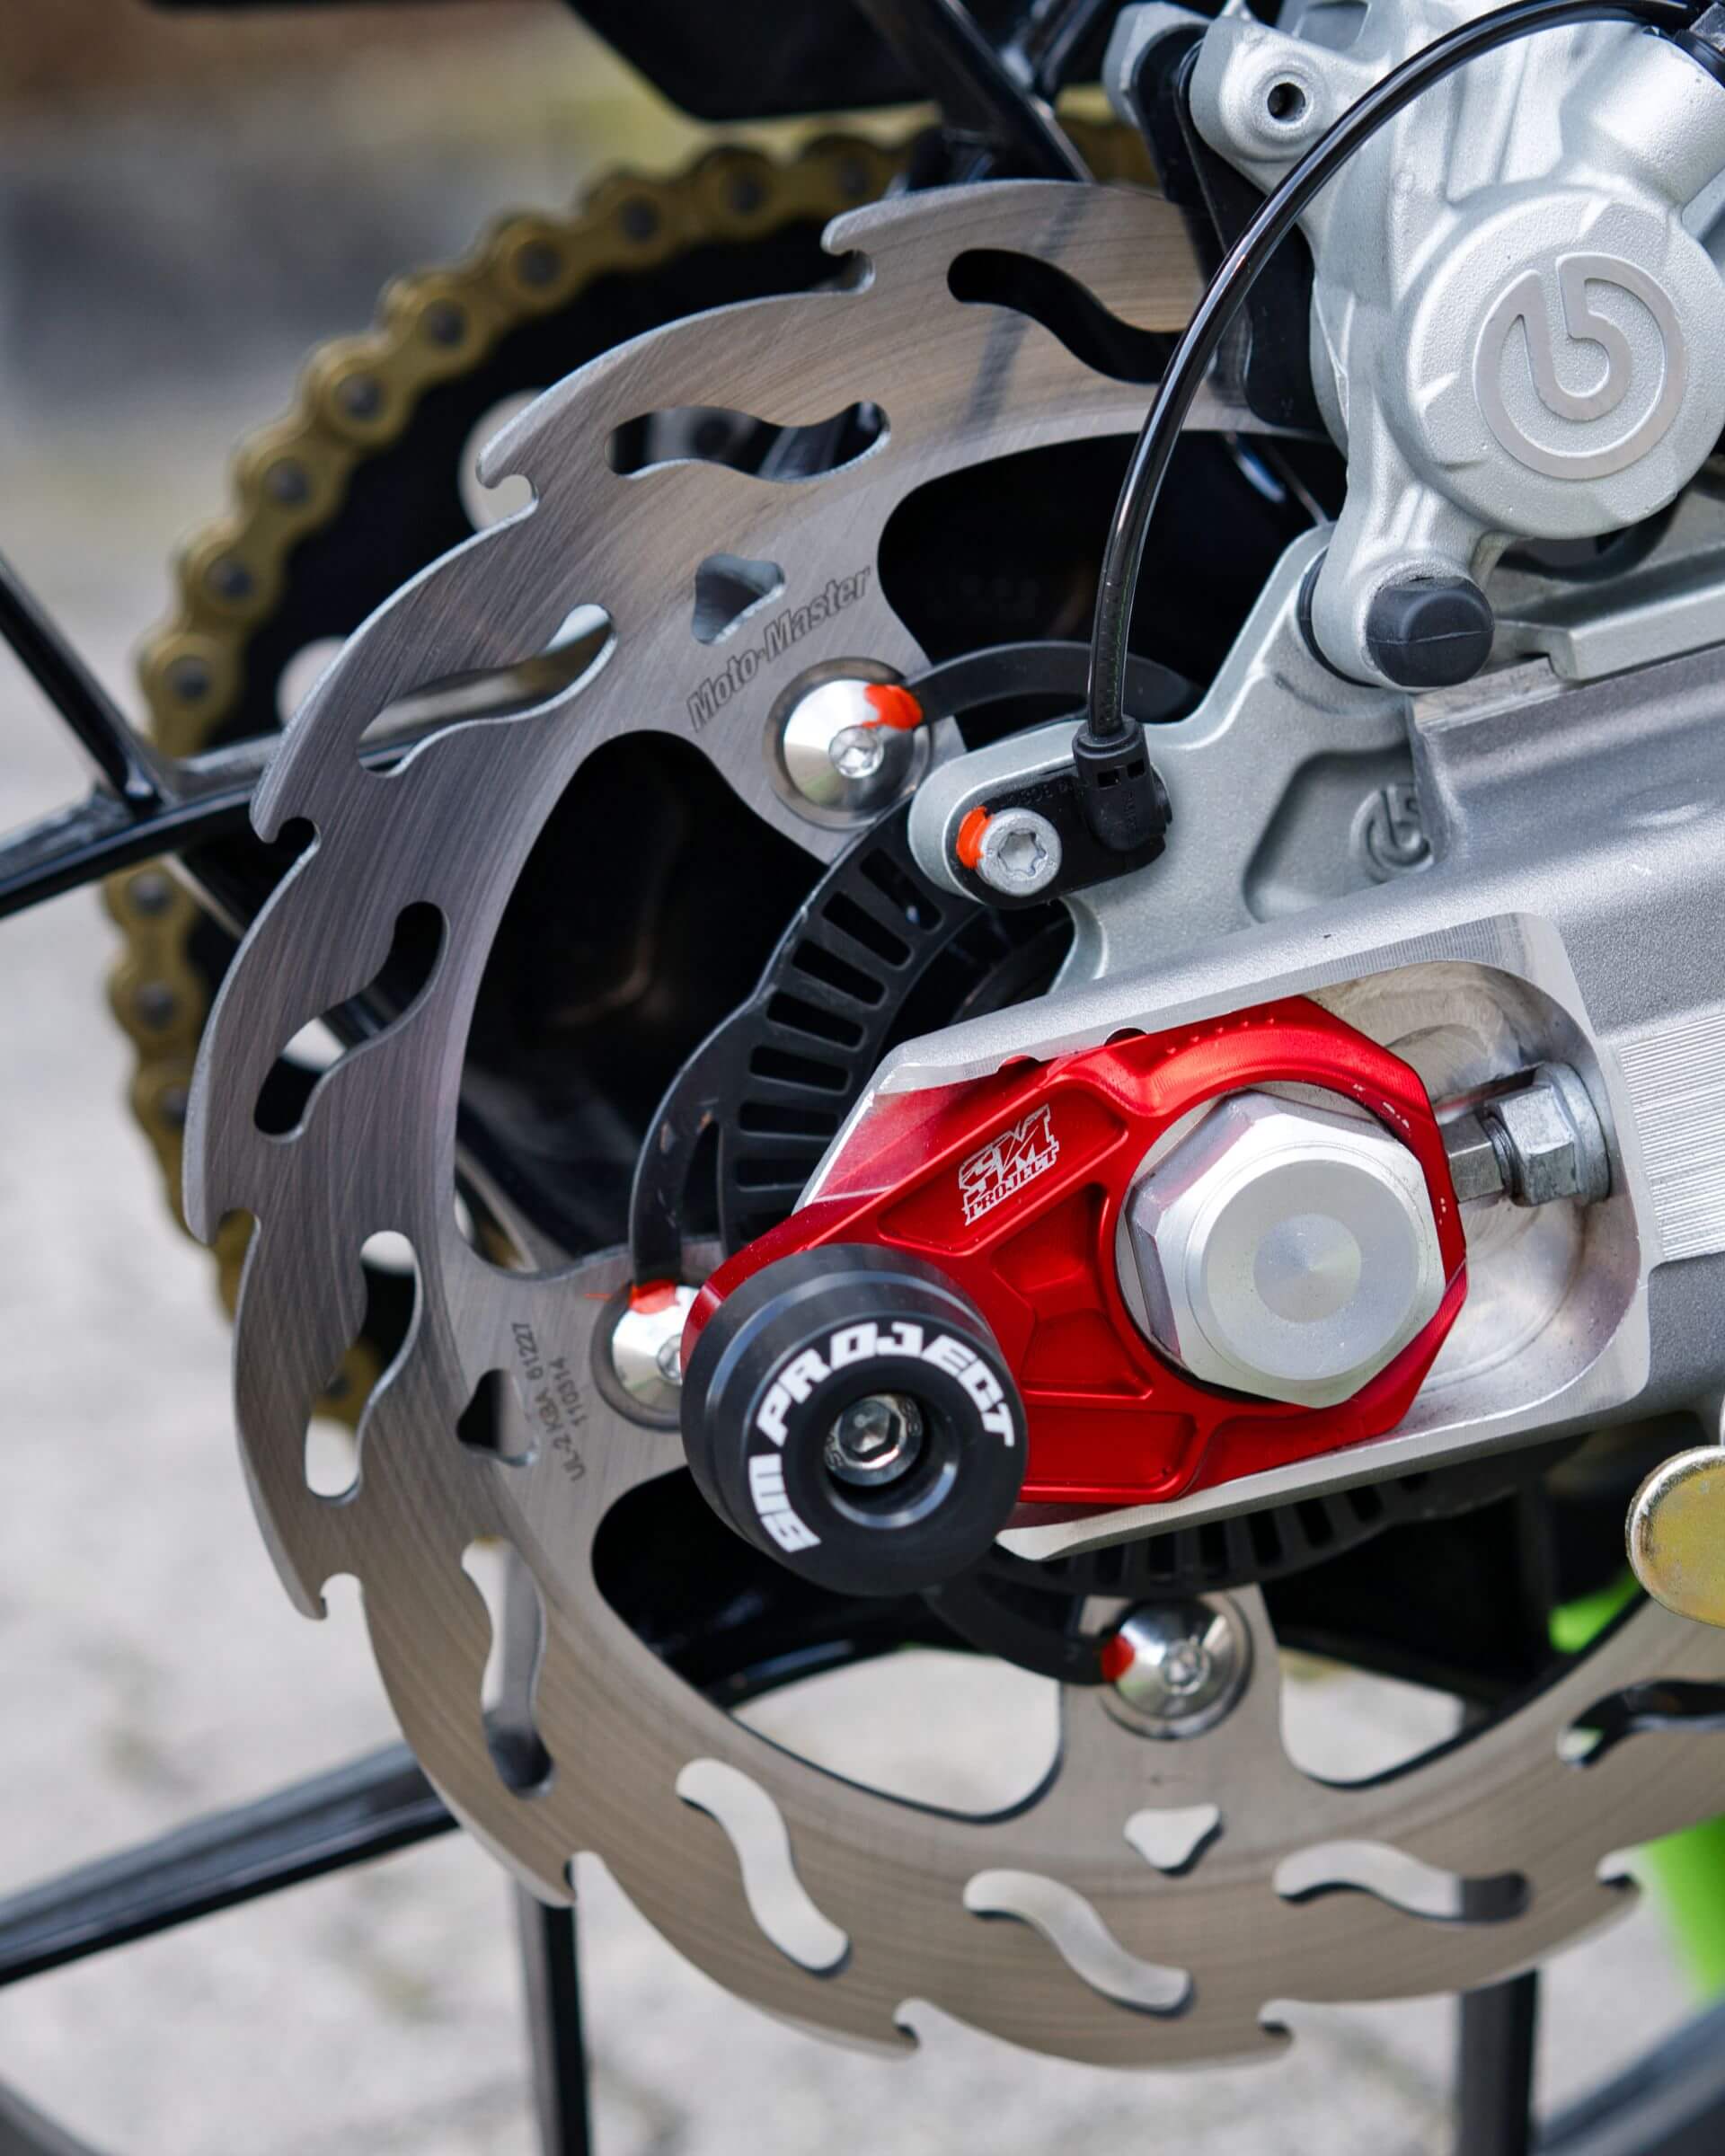
We recommend cleaning the calipers during every wheel change or even more frequently for sport riding. If you’ve ever watched mechanics in IDM, WSBK, or MotoGP, you’ll notice they clean brake components thoroughly and often.
Even for street riders, regular caliper care is beneficial. It extends the lifespan of your braking system and helps avoid full overhauls. Riders using sintered brake pads (which produce more dust) should make caliper cleaning a routine. The same applies to track day use.
- Track tip: Clean the front brake calipers every time you remove the front wheel (for example tyre change).
Note: Many professional workshops skip caliper cleaning during service. It’s often not included in standard maintenance, and time constraints mean mechanics rarely clean pistons thoroughly.
How to Clean Motorcycle Brake Calipers
Cleaning calipers is simple and usually takes just a few minutes. Here’s a step-by-step guide to keeping them in top shape.
Disclaimer: All instructions are provided without warranty and at your own risk. Brake work should only be performed by experienced professionals.
Tools & Supplies Needed:
- Brake cleaner (e.g. Motul, Motorex)
- Small brushes or soft toothbrush
- Basic tools for caliper removal
Steps:
- Remove the brake caliper
- Spray brake cleaner into the caliper and over the pistons
- Dirty fluid will run out—use a mat or catch tray
- If residue remains on the pistons, gently scrub with a soft brush
- Always rinse off loosened dirt immediately
- Avoid scratching the pistons or their coating
- Never use screwdrivers, metal tools, or sandpaper
- Repeat the process if needed
- Rinse the caliper thoroughly and let it air dry
- Optional: use compressed air from a safe distance
- Reinstall the caliper
Important: Do not press the brake lever while the caliper is removed
By following these tips, you’ll prevent long-term damage and may even restore slightly sticky calipers to proper function. Want more maintenance guides for your bike? Just follow our blog!
Do you have any questions or tips for brake caliper maintenance? Leave a comment below!
