

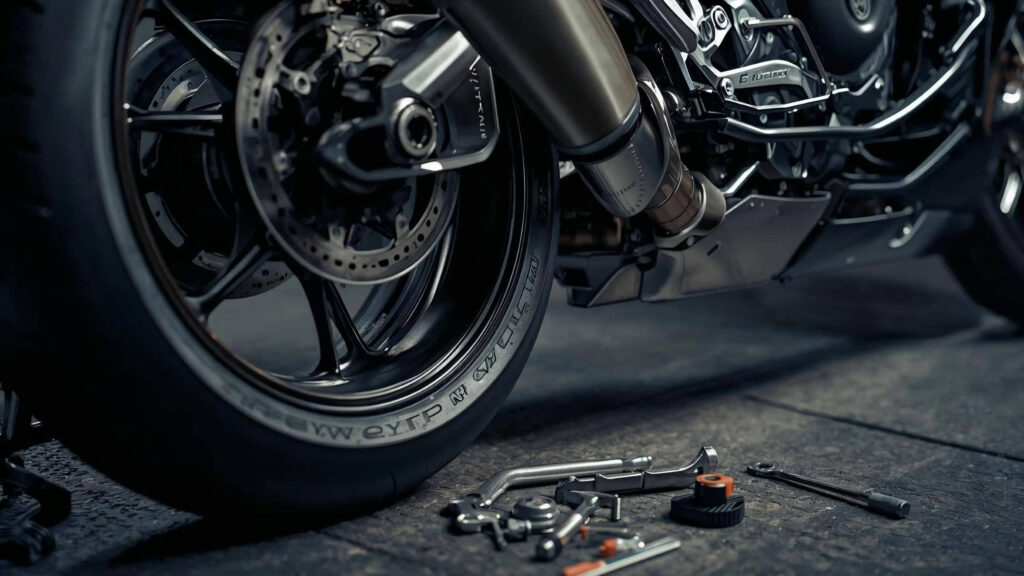
You can change motorcycle tires yourself quite easily – you absolutely don’t need to be a professional. If you have some mechanical aptitude and work carefully, you can handle a motorcycle tire change without any problems. While buying the necessary tools and equipment costs money upfront, the investment pays off relatively quickly in the long run. Frequent riders and track‑day enthusiasts in particular benefit from doing their own tire changes. In this guide, we’ve listed all the tools and equipment you’ll need to change motorcycle tires yourself.
Table of Contents
More guides on motorcycle tire changing:
Accessories for changing motorcycle tires
Below you’ll find all the tools and equipment you need for a successful DIY motorcycle tire change.
Tools for wheel removal/installation
Before you can change the tires, you need to remove the wheels. Usually, this requires only a few tools: a torque wrench, a ratchet, 2–3 sockets, and 1–2 open‑end wrenches. On older bikes, wheel removal is often described in the owner’s manual; otherwise, you can find detailed video tutorials for almost every model on YouTube.
Recommended basic tools:
- Socket set
- Torque wrench set
- Combination wrench set
- Allen key set
- Large sockets for axle bolts/nuts
- Motorcycle stands
Motorcycle tire changer
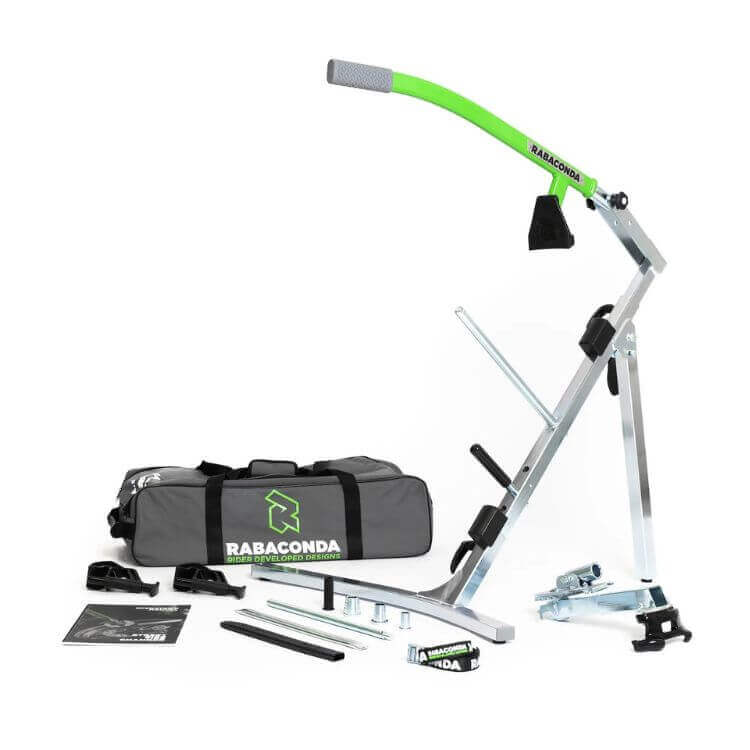
A tire changer is one of the most important pieces of equipment – it allows you to break the bead and mount new tires. Tire changers come in many price ranges; higher‑quality models usually offer better fit and stability. Check the maximum rim size it can handle – some are limited to 17‑inch rims, while others can handle 21‑inch off‑road rims or small scooter wheels.
Tip: The Rabaconda tire changer is a popular choice.
Rim protectors
Plastic rim protectors prevent scratches during mounting and especially during removal.
Tire irons
Essential for levering the tire over the rim during mounting.
Mounting paste / spray
Lubricates the bead and rim edge so the tire slips on easily. Paste can be brushed on; spray is easy to apply and remove but can make the work area slippery – use sparingly.
Valve tool + new valves
Special tools are needed to install/remove valves and release air. A complete kit with valve puller and remover is recommended. You don’t need to replace valves at every tire change.
Compressor or foot pump
You’ll need air pressure to seat the tire on the rim. A simple multi‑cylinder foot pump can work if you don’t want a large, noisy compressor. Portable compressors with air tanks are also handy for track use.
Note: Cheap foot pumps often have inaccurate gauges – check final pressure with a reliable gauge.
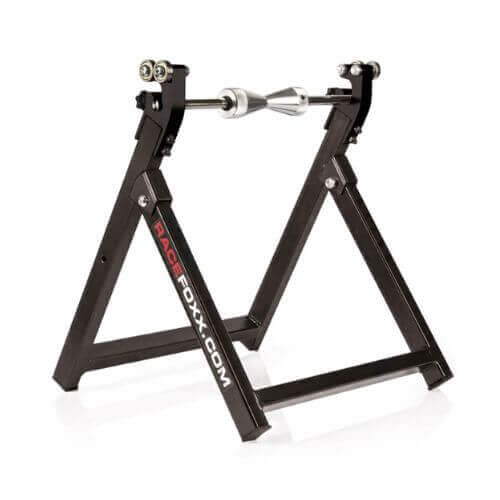
Wheel balancing stand
Used to balance freshly mounted wheels. Even inexpensive models work fine for this.
Brake cleaner
Removes mounting lubricant residue, cleans brake discs, and preps the surface for wheel weights.
Weight remover
Plastic scrapers or wedges are best for removing old adhesive weights without damaging the rim.
Wheel weights
Essential for proper balancing. Choose black or silver to match your rims. 5‑gram segments are ideal for precise balancing, as most motorcycle wheels only need 10–50 g.
DIY mounting checklist
Have all tools ready before starting to avoid surprises:
- General tools
- Tire changer
- Rim protectors
- Tire irons
- Mounting paste/spray
- Valve tool
- Air pump
- Balancing stand
- Brake cleaner
- Weight remover
- Wheel weights
Which tools do you rely on for tire changes, and how long does a wheel swap usually take you? Share your experience in the comments!
